
I am the daughter of a hobbyist woodworker. My entire life my father has been making things: bookshelves, dressers, tables, benches, etc. I grew up knowing that many things were possible with a saw, but never learned from my father how to use power tools. I’m not sure if it was because I never showed an interest or because my father thought his four daughters had no interest in woodworking. Either way, it wasn’t until adulthood that I learned how to use power tools and discovered the many things I was capable of doing with different power tools, including saws.
Ever since we moved into our house, we’ve discussed some projects that we would like to undertake, especially to take care of furniture needs that no furniture store appears to be be able to fulfill for us. One of those desires was new bookshelves to replace the bookshelves that were ruined in a pop-up shower as my husband headed back to our house with the last load of household items that had been housed in a storage unit for six weeks.
Our living room was a hodgepodge space that never seemed organized and was difficult to rearrange, but I knew that the bookshelves we had did not work because they didn’t hold all of our books. We needed something new if I was going to rearrange the storage in our house.


A couple of weeks ago one of the houses in our neighborhood had an estate sale. Since one never knows what one might find, we stopped and discovered a radial arm saw in the garage.
In the 24 hours that followed our “new” purchase, we were looking at Youtube videos to figure out the best method for the shelves I desperately desired. We finally found plans for shelves that flanked either side of a doorway. Suddenly, I wondered why I never thought of it before. We started planning to make this our first project.
Our first “free” weekend (those don’t really exist but it was less packed than other weekends) we headed to Lowes, at which time we purchased three pieces of 3/4 inch MDF, two pieces of plywood, a can of white satin paint, wood veneer edging (which we ended up not using), 6-inch cabinet paint rollers, and new sawhorses (since we didn’t have any).
To elevate the bookshelves over baseboards so that they could be flush against the wall, we had to build a plinth using lumber we found in our garage.


We started by cutting the three pieces of MDF into twelve 12-inch wide pieces. Ripping the large pieces of MDF through our new saw was difficult on the first pass, just because the wood was so large, but we took a nighttime break after the first piece was cut up (and after I started getting irritable) and had a much better run the next afternoon. The rest of our Saturday afternoon was occupied with cutting the sides (80 inches), the tops (39.5 inches for one side of the door), and five 38.5 inch shelves. (I miss measured the first time and we cut 38 inch shelves. Thankfully, the other side of the doorway needs shorter shelves.) Then we used our new Dado saw blades to make a half lap joint for the top and sides of the shelving unit. We resized the Dado saw blades to make 13/16 inch wide and 1/4 inch deep notches to slide in the shelves. While we know that makes the placement of the shelves permanent, we made sure they were twelve inch tall spaces, which gives us plenty of room for all of our books. The bottom shelf is slightly bigger but it helps us fit those bigger children’s books. We did this for both sets of shelves.
Next I painted both sides of all of the pieces with three coats of white satin paint (Olympic paint plus primer). This included painting the 4X8 plywood for the back of the shelves. Thanks to two warm, breezy Texas days, the paint dried quickly, which made the work go much faster, especially after I discovered that our shelves for the unit were shorter than they were supposed to be and we had to cut the new pieces.


Then, using wood glue and our nail gun, we put together the outside of the shelves and then measured the unit one more time. Now that it was all together, we discovered that we had not accounted for the extra 3/4 inch that resulted from half lap joint as we had constructed the shelves. Just to make sure, my husband and a friend carried the unit inside. It didn’t take long to discover that it was absolutely too big for the space. New long shelves were cut to fit the new size and I painted those pieces while the guys went shopping. By the time they got back, the shelves had fallen over and we could now start over by cutting down the top and bottom by another 3/4 inch and new half lap joints.
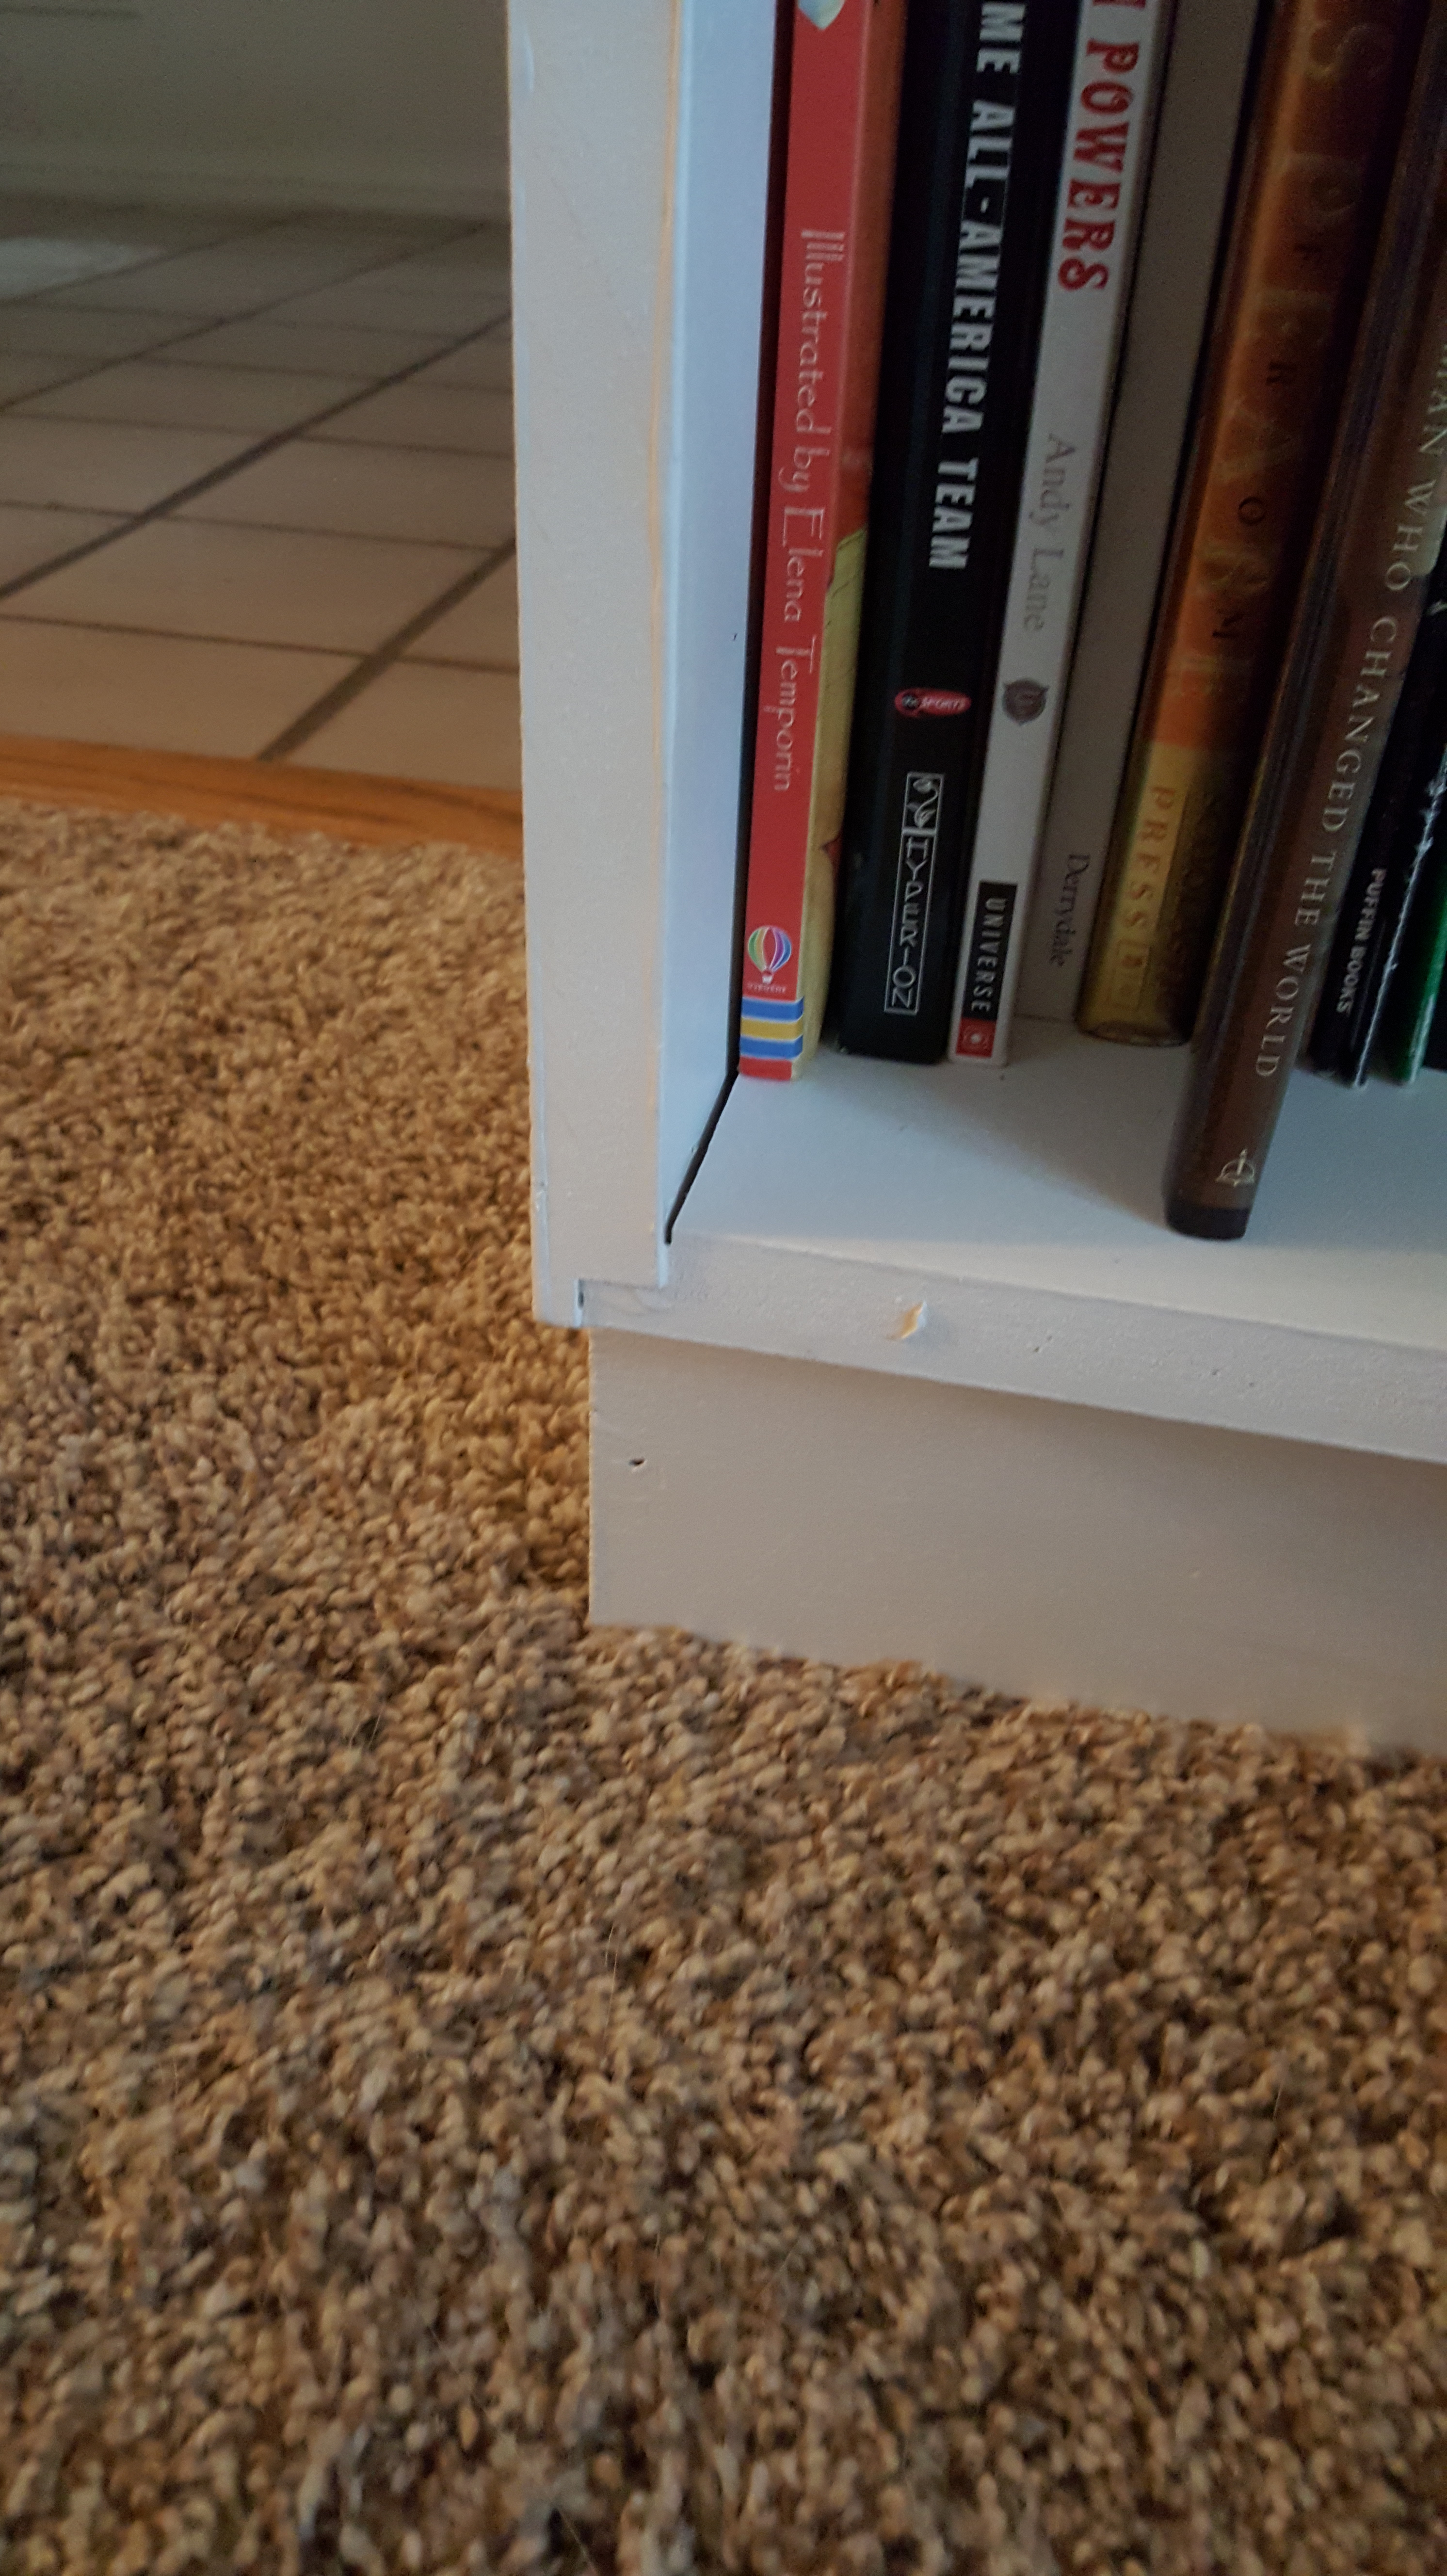
My husband cut down a piece of 0.197 inch, 4×8 plywood for the backing of the bookshelves and we reassembled the tops and bottoms, again using wood glue and the nail gun. After squaring up the unit, we attached the plywood backing, moved the unit back into the house where it fit into its spot on the right side of the doorway, and then screwed it to the wall. We measured for shelves, cut them all down to the appropriate size, and slid them into their spots. I then spent the remainder of the evening painting the fronts of the shelves and touching up spots that needed it. While there is a gap on one side due to a wall that is not square and one corner that was put together differently than the others (we screwed up the matching of the half-lap on that corner), we were proud of the completed first half of our project. Or at least we felt accomplished.

It took us until this weekend to complete the other side. The wall on the other side is slightly shorter, so our plinth was assembled with 35 inch by 10 inch pieces of wood, getting us the offset look on the left side that we didn’t get with the right side.

Remembering to account for the half-lap joints, we measured top and bottom pieces at 35.75 inches for our 36.5 inch wall. The sides were again 80 inches. We cut the pieces down to size and I got to work painting the remaining pieces. Assembly of the box was much smoother than the last time and I drew out the lines for the plywood backer. Once it was squared up and nailed on, we discovered that one side had some slight hangover so my husband used the planer to cut it down so that it would fit in just right. With the help of the same friend, we moved it inside and it fit like a glove. Shelves were cut to the appropriate lengths but once they were installed we discover they were a little too deep. We took them back to the saw to rip off the edges, put them back in, and they fit nearly perfectly. I again got to work painting the front of the shelves and doing touch-ups.

While it’s very clear that one unit was a practice unit for a much better second shelving unit, we feel like we can call our first furniture making venture a success.
Now it’s time to start looking at dining room table plans…


